Welcome to Napkin Decoupage Shop!
 |
Decoupage originated in Italy in the late 17th early 18th centuries as an inexpensive way of imitating styles of decorating furniture. Decoupage was the ingenious alternative to hand-painted furniture which was then imported from China and Japan. |
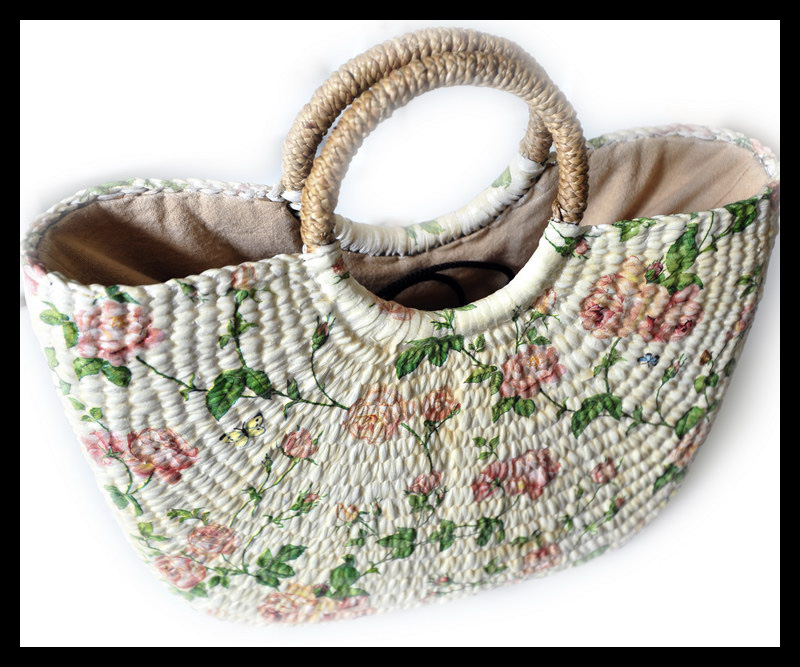
Contemporary decoupage technique is simply sticking to a project surface decorative paper napkin cut-outs and make it look like it is painted on the surface. Numerous coats of varnish are then applied to achieve a smooth finish. Nearly any object can serve as a medium for napkin decoupage. These include straw bags, wooden boxes, i-phone casing, furniture and many more.
Anyone from young children to the elderly can enjoy this fun and creative craft. Whatever you decide to create, you can take great pride and pleasure knowing that your items for the home, office or friends were personally handmade using a few simple items and your own imagination.
To get started this is all you need:
| • | A set of starter tool kit |
| • | An object to be decoupaged |
| |
|
 |
We offer the following courses for beginner levels:
Napkin Decoupage Starter Course
| • | Includes free
usage of tools |
| • | Includes object to be decoupaged (object will be changed periodically subject to stock availability) |
| • | Paper Napkin
will be charged separately |
Products Showcase
Here are some of our works. Click on the thumbnails to view a larger image.
The Napkin Decoupage Creation Process
 |
1. Paint the object to be decoupaged with a light colour of acrylic paint and blow dry with a hairdryer. Do this several times until the base colour of the object cannot be seen.
2. Coat the object with a layer of glue and blow dry with a hairdryer.
3. Tear out the desired design from your paper napkin and remove the bottom layers.
|
4. Place the napkin on the object and using a sponge dipped in a little water, gently press the napkin onto the object. Start out from the center and work your way out to the outer edges. Try to work smooth and avoid ripping the napkin.
5. Blow dry with a hairdryer.
6. Once all the napkin pieces are dry, use a paint that is similar to that of the napkin to touch up.
7. Apply several coats of varnish to achieve a smooth finish.
Copyrights (C) The Napkin Decoupage Shop 2012. All Rights Reserved. No form of reproduction, including copying or saving of digital image files, or the alteration or manipulation of said image files, is authorized unless written usage rights have been obtained and issued by Napkin Decoupage Shop.


 Showroom: 110 Gerald Drive